This workshop with La Diagonale at UP Saclay is a simple circuit to begin playing with code and screen patterns.
Here is the github: https://github.com/merlinmarrs/spaghettini-video-synth
Arduino Coding and Video Synthesis Workshop
Lean to code in C with Arduino, solder and assemble a custom printed-circuit board made in the Fablab, and make your own algorithmically-generated video art!
This workshop is inspired by the improvisational music of Live coding (https://fr.wikipedia.org/wiki/Live_coding) and the burgeoning minimalist Bytebeats movement (https://nightmachines.tv/bytebeats-tutorial).
Our video synthesis kit plugs in to the Arduino (https://www.arduino.cc/), a reprogrammable embedded micro-controller that can interact with the world through code, and uses the VGAX library (https://github.com/smaffer/vgax) to generate funky video.
Meet other creative technologists and sharpen your expertise in computer sciences and electronics soldering!
Here are some initial sketches :
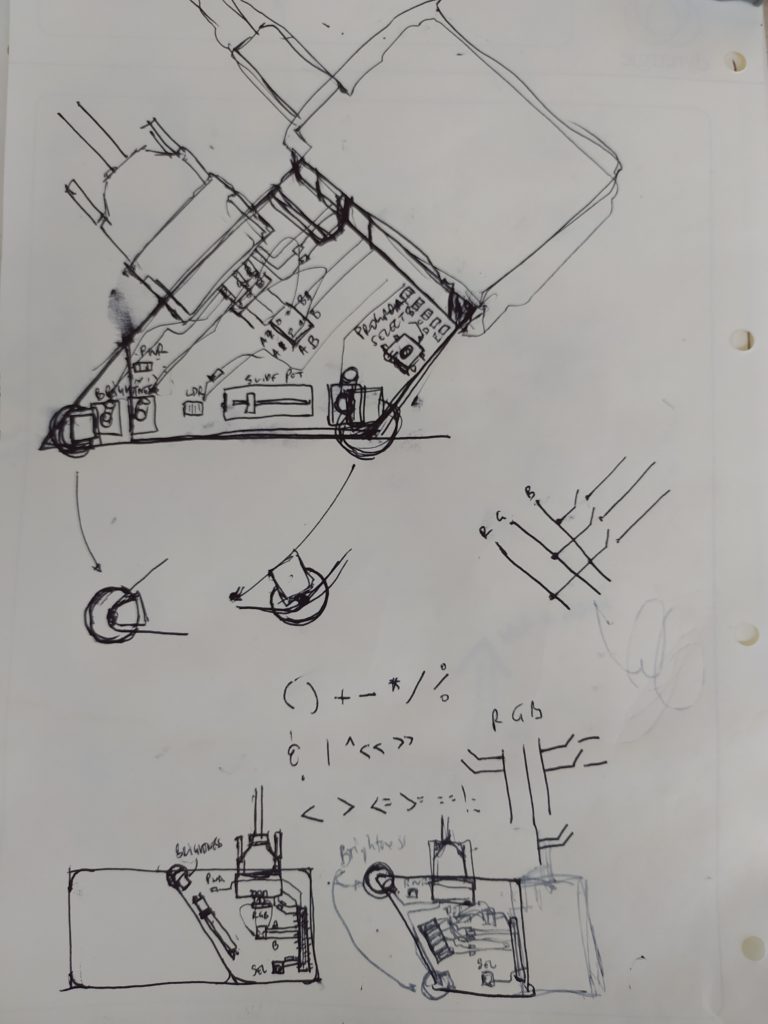
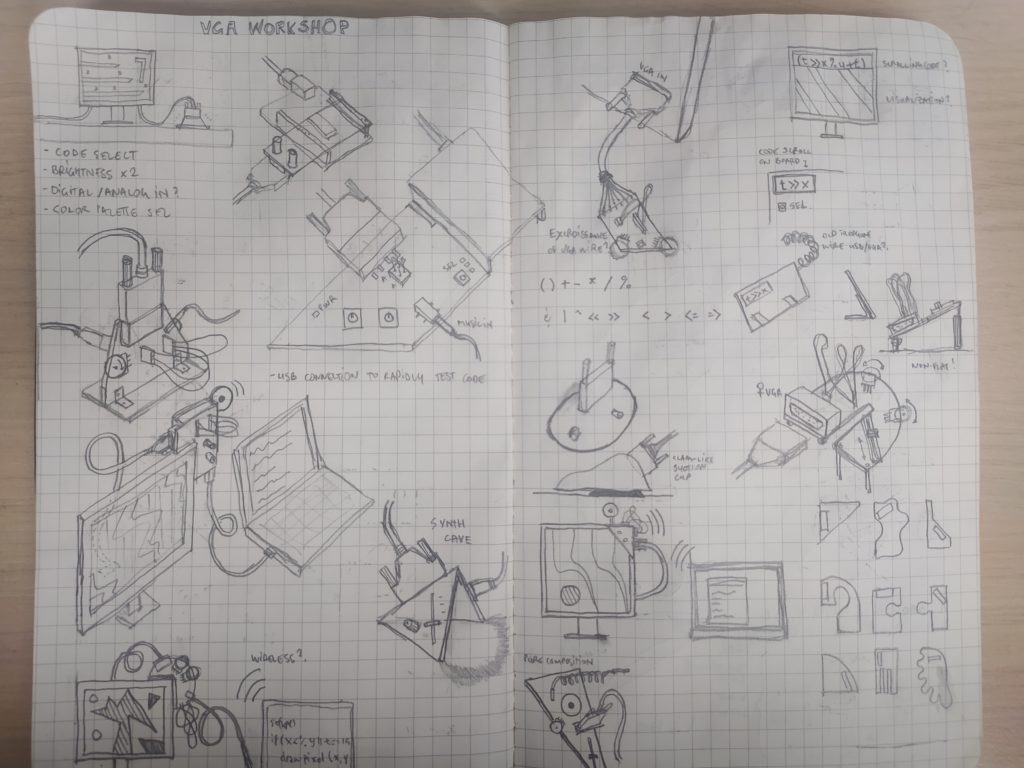
The functionality that is important is :
-being able to select between different programs (with button and leds to indicate)
-to be able to take audio in and have it modify the patterns on screen
-to be able to change the colors on the go
-I have since phased out the brightness changeability but I could add an LDR easily ?
*******************************************************************************************
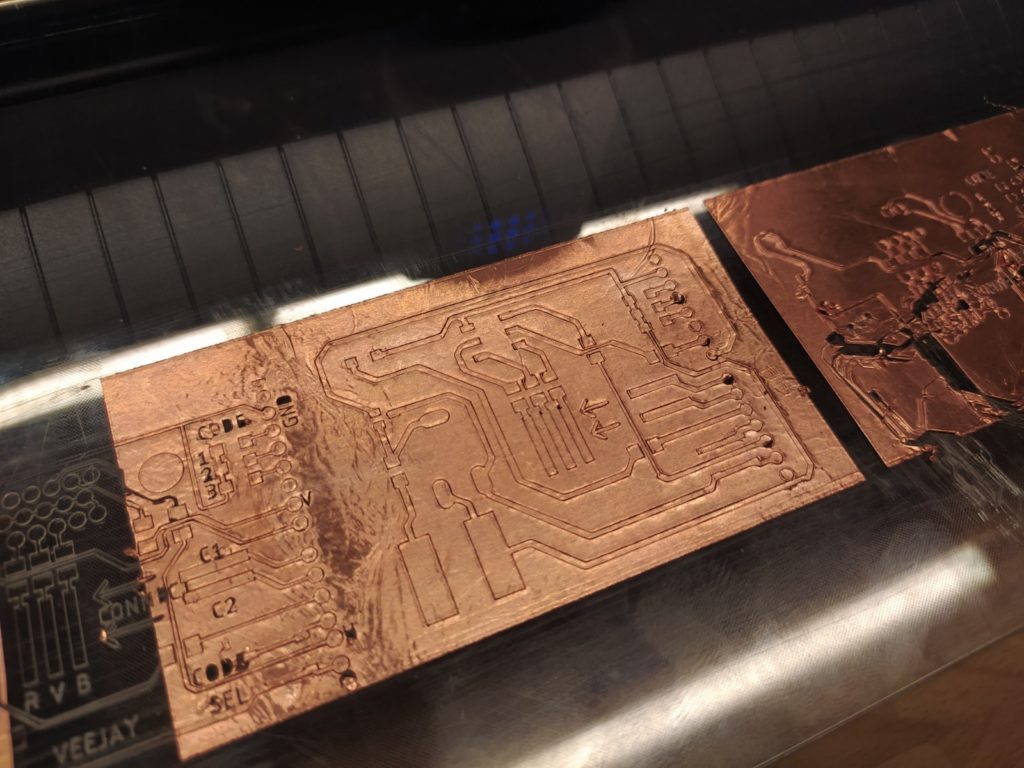
Because our lasercutter is not operational, I am trying to make this circuit with the vinyl cutter using 5cm wide copper tape.

I am worried about the headers getting pulled out when plugging/unplugging. I will try adding some hot glue to fortify them. The other option is potting the circuit in resin but that would get messy and expensive.
Errata:
-button too close to headers when glue is applied
-remember space for audio in jack plug
-the two columns of headers for the Arduino should not be continuous, also unclear what is first and last pin. Also they should be SMD headers.
-don’t mess with RX and TX pins on the Arduino.
-make a version with VGA plug?
-add text but have it cut onto plastic not made from metal
-audio offset thing doesn’t work
I also want to think about expandability, how could people take this project further by themselves afterwards ?
-Having a knob or two knobs / LDR connected to an analog in on the Arduino…
-Be able to control the program based on voltage control levels at an input. This could mean it could even be attached to the polyphonic synth !
***************************************************************************
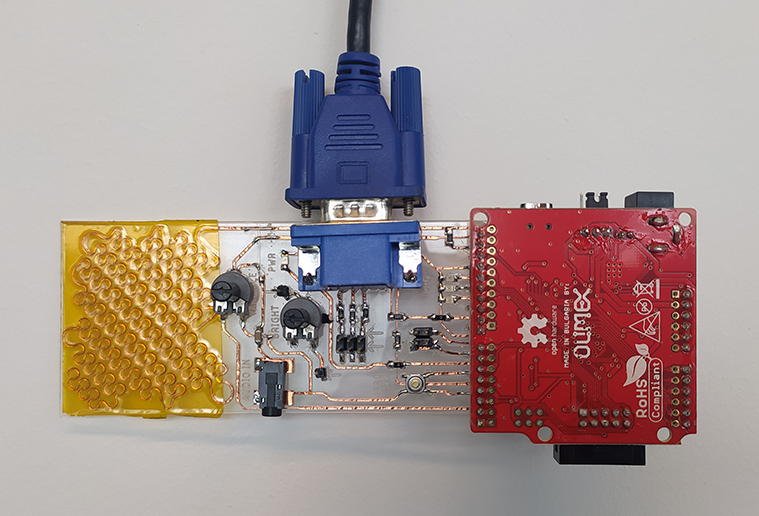
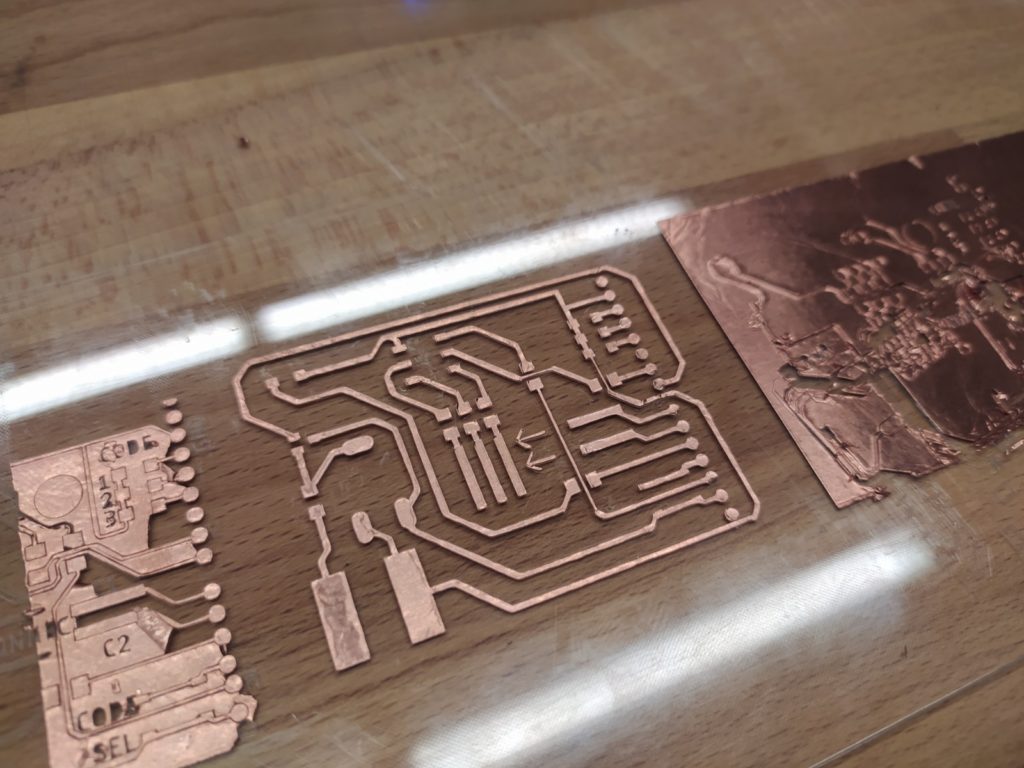
Here is the next version called the Spaghettini:
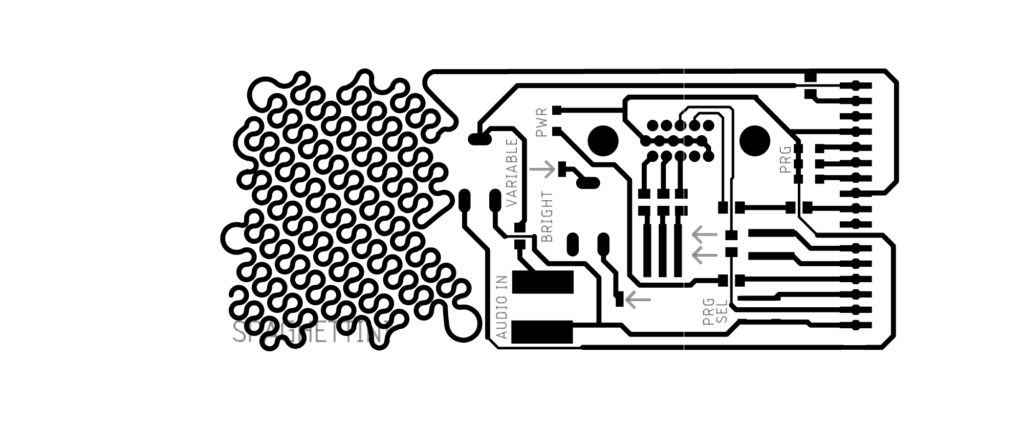
-It respects the height of the 50mm wide copper tape I have on hand.
-It makes more sense for the audio in cable to plug in at the side and not interfere with the capacitive sensor.
-It uses curvy lines just for the capacitive sensing functionality and straight elsewhere which feels honest.
-It has the ability to modify the brightness of any of the three channels, one at a time.
-It has a potentiometer for analog in in adition the capacitive sensor.
-I’m experimenting with different patterns on the left portion.
-The sensor works with the Arduino library CapacitiveSensor
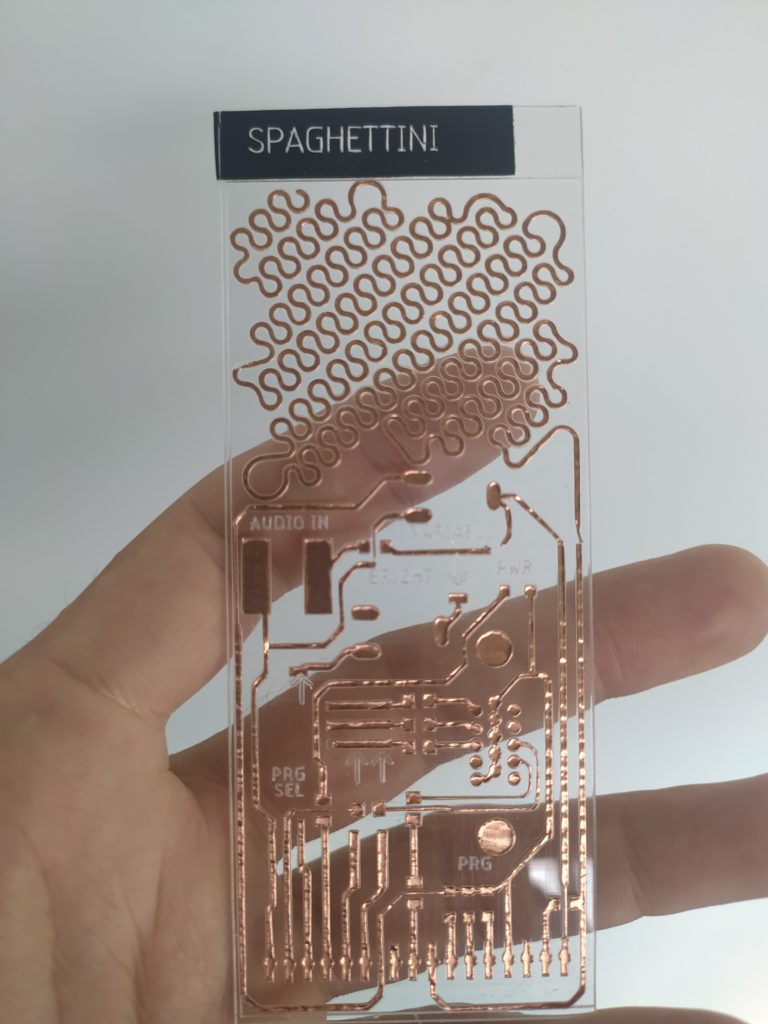

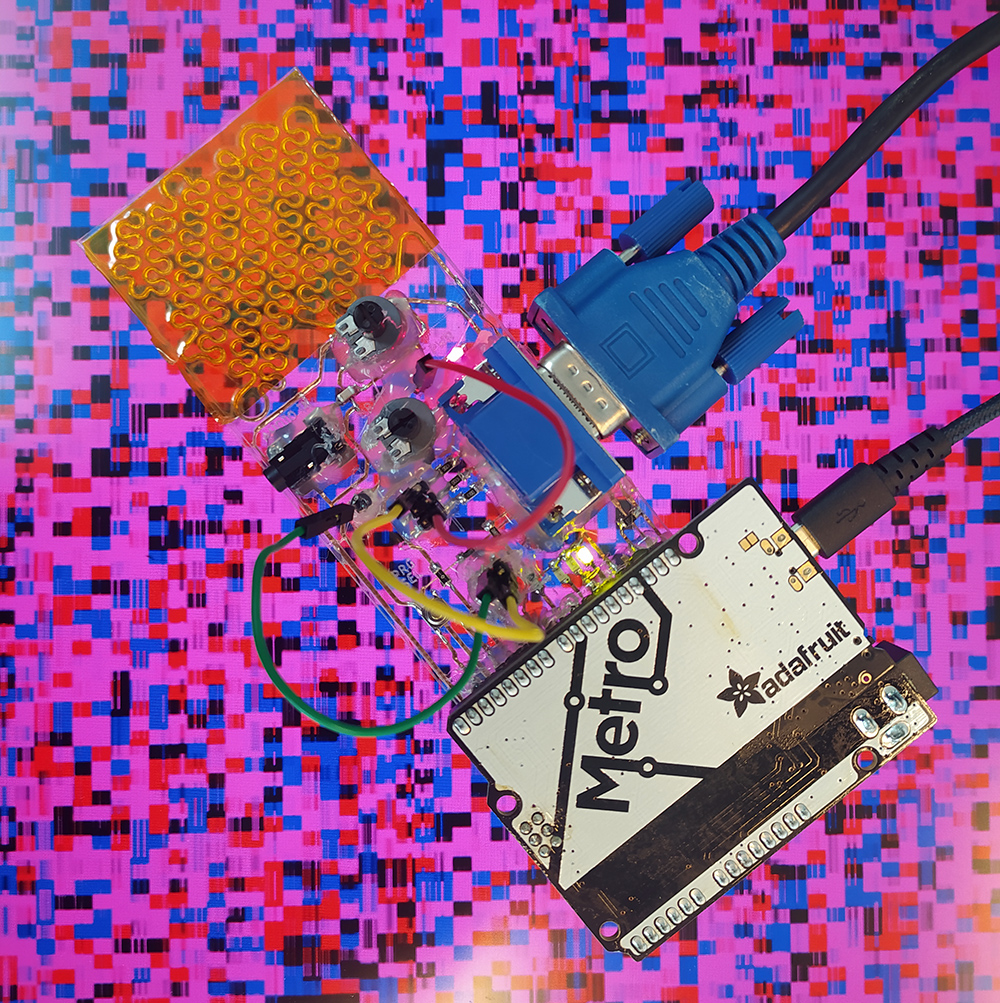
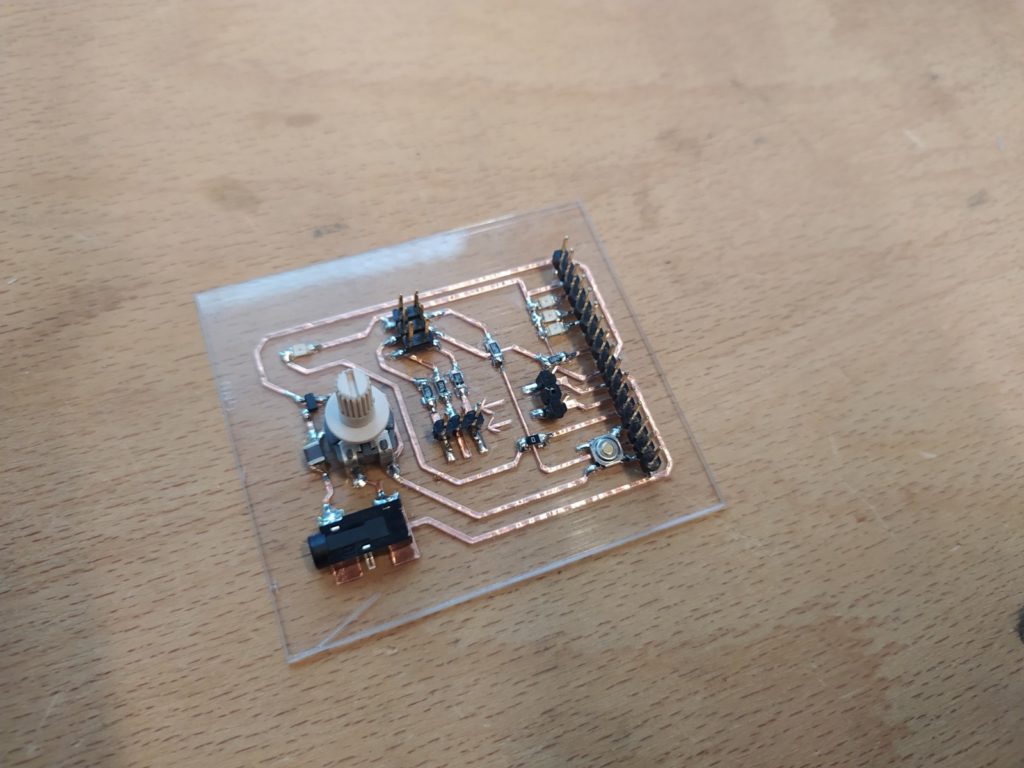
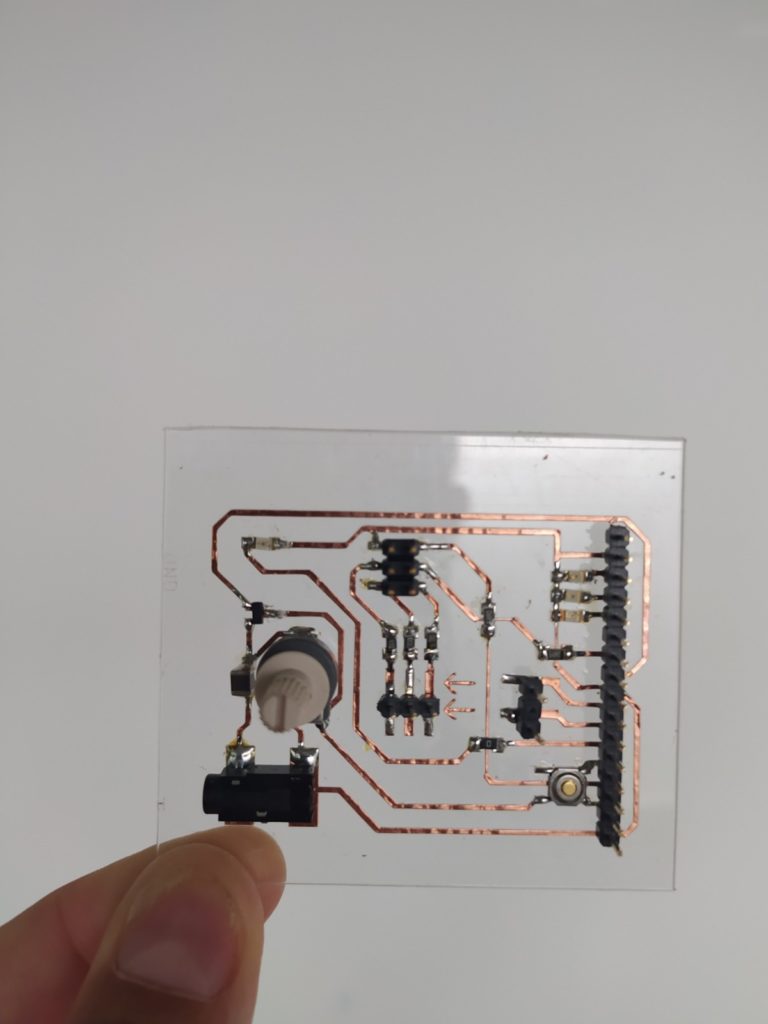
And here’s what it looks like all plugged in ! (But I need to add hot glue to make it really usable)