We wanted to make an interactive Draw Bot which would make nice drawings near the entrance of the Fab Lab and invite guests to upload their own drawings too. I am working with our PhD candidate Nawel Khenak on this project.

We downloaded most of the 3D parts from this kit on Thingiverse: https://www.thingiverse.com/thing:798076
But we eventually made our own custom motor mounts by attaching two of these adafruit products together and screwing them into the wall: https://www.adafruit.com/product/1297
We used basic timing pulley wheels (https://www.mcmaster.com/timing-pulley-wheel ) and Nema 17 stepper motors. We spooled a good few meters of the wire to ensure that there wouldn’t be any slipping or running out of line.

After some issues using first a gearbelt (inelegant and not sufficiently flexible), and then a very fine thread (not sufficiently strong), we landed on using conductive thread (https://www.sparkfun.com/products/11791). It is strong and has a nice color also.
We are powering two Easy Stepper Motor Drivers with 12V and using an Arduino Mega.

We’re using Makelangelo for the software: https://github.com/MarginallyClever/Makelangelo-firmware

In the Arduino code we selected the RUMBA machine and looked at the pinouts for the motor drivers and the servo motor to make the correct connections on the Mega:
#define MAX_MOTORS (5)
#define MOTOR_0_DIR_PIN (55) #define MOTOR_0_STEP_PIN (54) #define MOTOR_0_ENABLE_PIN (38) #define MOTOR_0_LIMIT_SWITCH_PIN (3) /* X min */
#define MOTOR_1_DIR_PIN (61) #define MOTOR_1_STEP_PIN (60) #define MOTOR_1_ENABLE_PIN (56) #define MOTOR_1_LIMIT_SWITCH_PIN (14) /* Y min */
#define MOTOR_2_DIR_PIN (48) #define MOTOR_2_STEP_PIN (46) #define MOTOR_2_ENABLE_PIN (62) #define MOTOR_2_LIMIT_SWITCH_PIN (18) /* Z Min */
#define MOTOR_3_DIR_PIN (28) #define MOTOR_3_STEP_PIN (26) #define MOTOR_3_ENABLE_PIN (24) #define MOTOR_3_LIMIT_SWITCH_PIN (2) /* X Max */
#define MOTOR_4_DIR_PIN (34) #define MOTOR_4_STEP_PIN (36) #define MOTOR_4_ENABLE_PIN (30) #define MOTOR_4_LIMIT_SWITCH_PIN (15) /* Y Max */
#define MAX_BOARD_SERVOS (4) #define SERVO0_PIN (11) /* Servo 1 */ #define SERVO1_PIN (6) #define SERVO2_PIN (5) #define SERVO3_PIN (4)
#define LIMIT_SWITCH_PIN_LEFT (MOTOR_0_LIMIT_SWITCH_PIN) #define LIMIT_SWITCH_PIN_RIGHT (MOTOR_1_LIMIT_SWITCH_PIN)
We commented HAS_LCD from the config file to avoid a problem where the Drawbot gets stuck waiting for the user to click OK on the LCD screen (the “M226” command in the drawing code):
//—————————————————————————— // LCD panels supported //——————————————————————————
#define HAS_LCD // if you have an LCD panel #define HAS_SD // if you have SD card support on your LCD panel (must be on panel?)
// only uncomment one of these options //#define LCD_IS_128X64 // reprapdiscount Full Graphic Smart LCD Controller #define LCD_IS_SMART // reprapdiscount Smart LCD Controller (including XXL model)
Everytime we load the software we need to re-input the parameters of our machine but Nawel is looking into regenerating the Java code with our parameters baked in based on the info at this site: https://github.com/MarginallyClever/Makelangelo-software/wiki/Getting-Started
We are working to rationalize the wire management, right now it’s unsightly:


Currently the wires from the motors go through the ceiling and come through a ceiling tile to our a nifty box that Nawel made.
We are printing Nice clips for wire management: https://www.thingiverse.com/thing:2798689
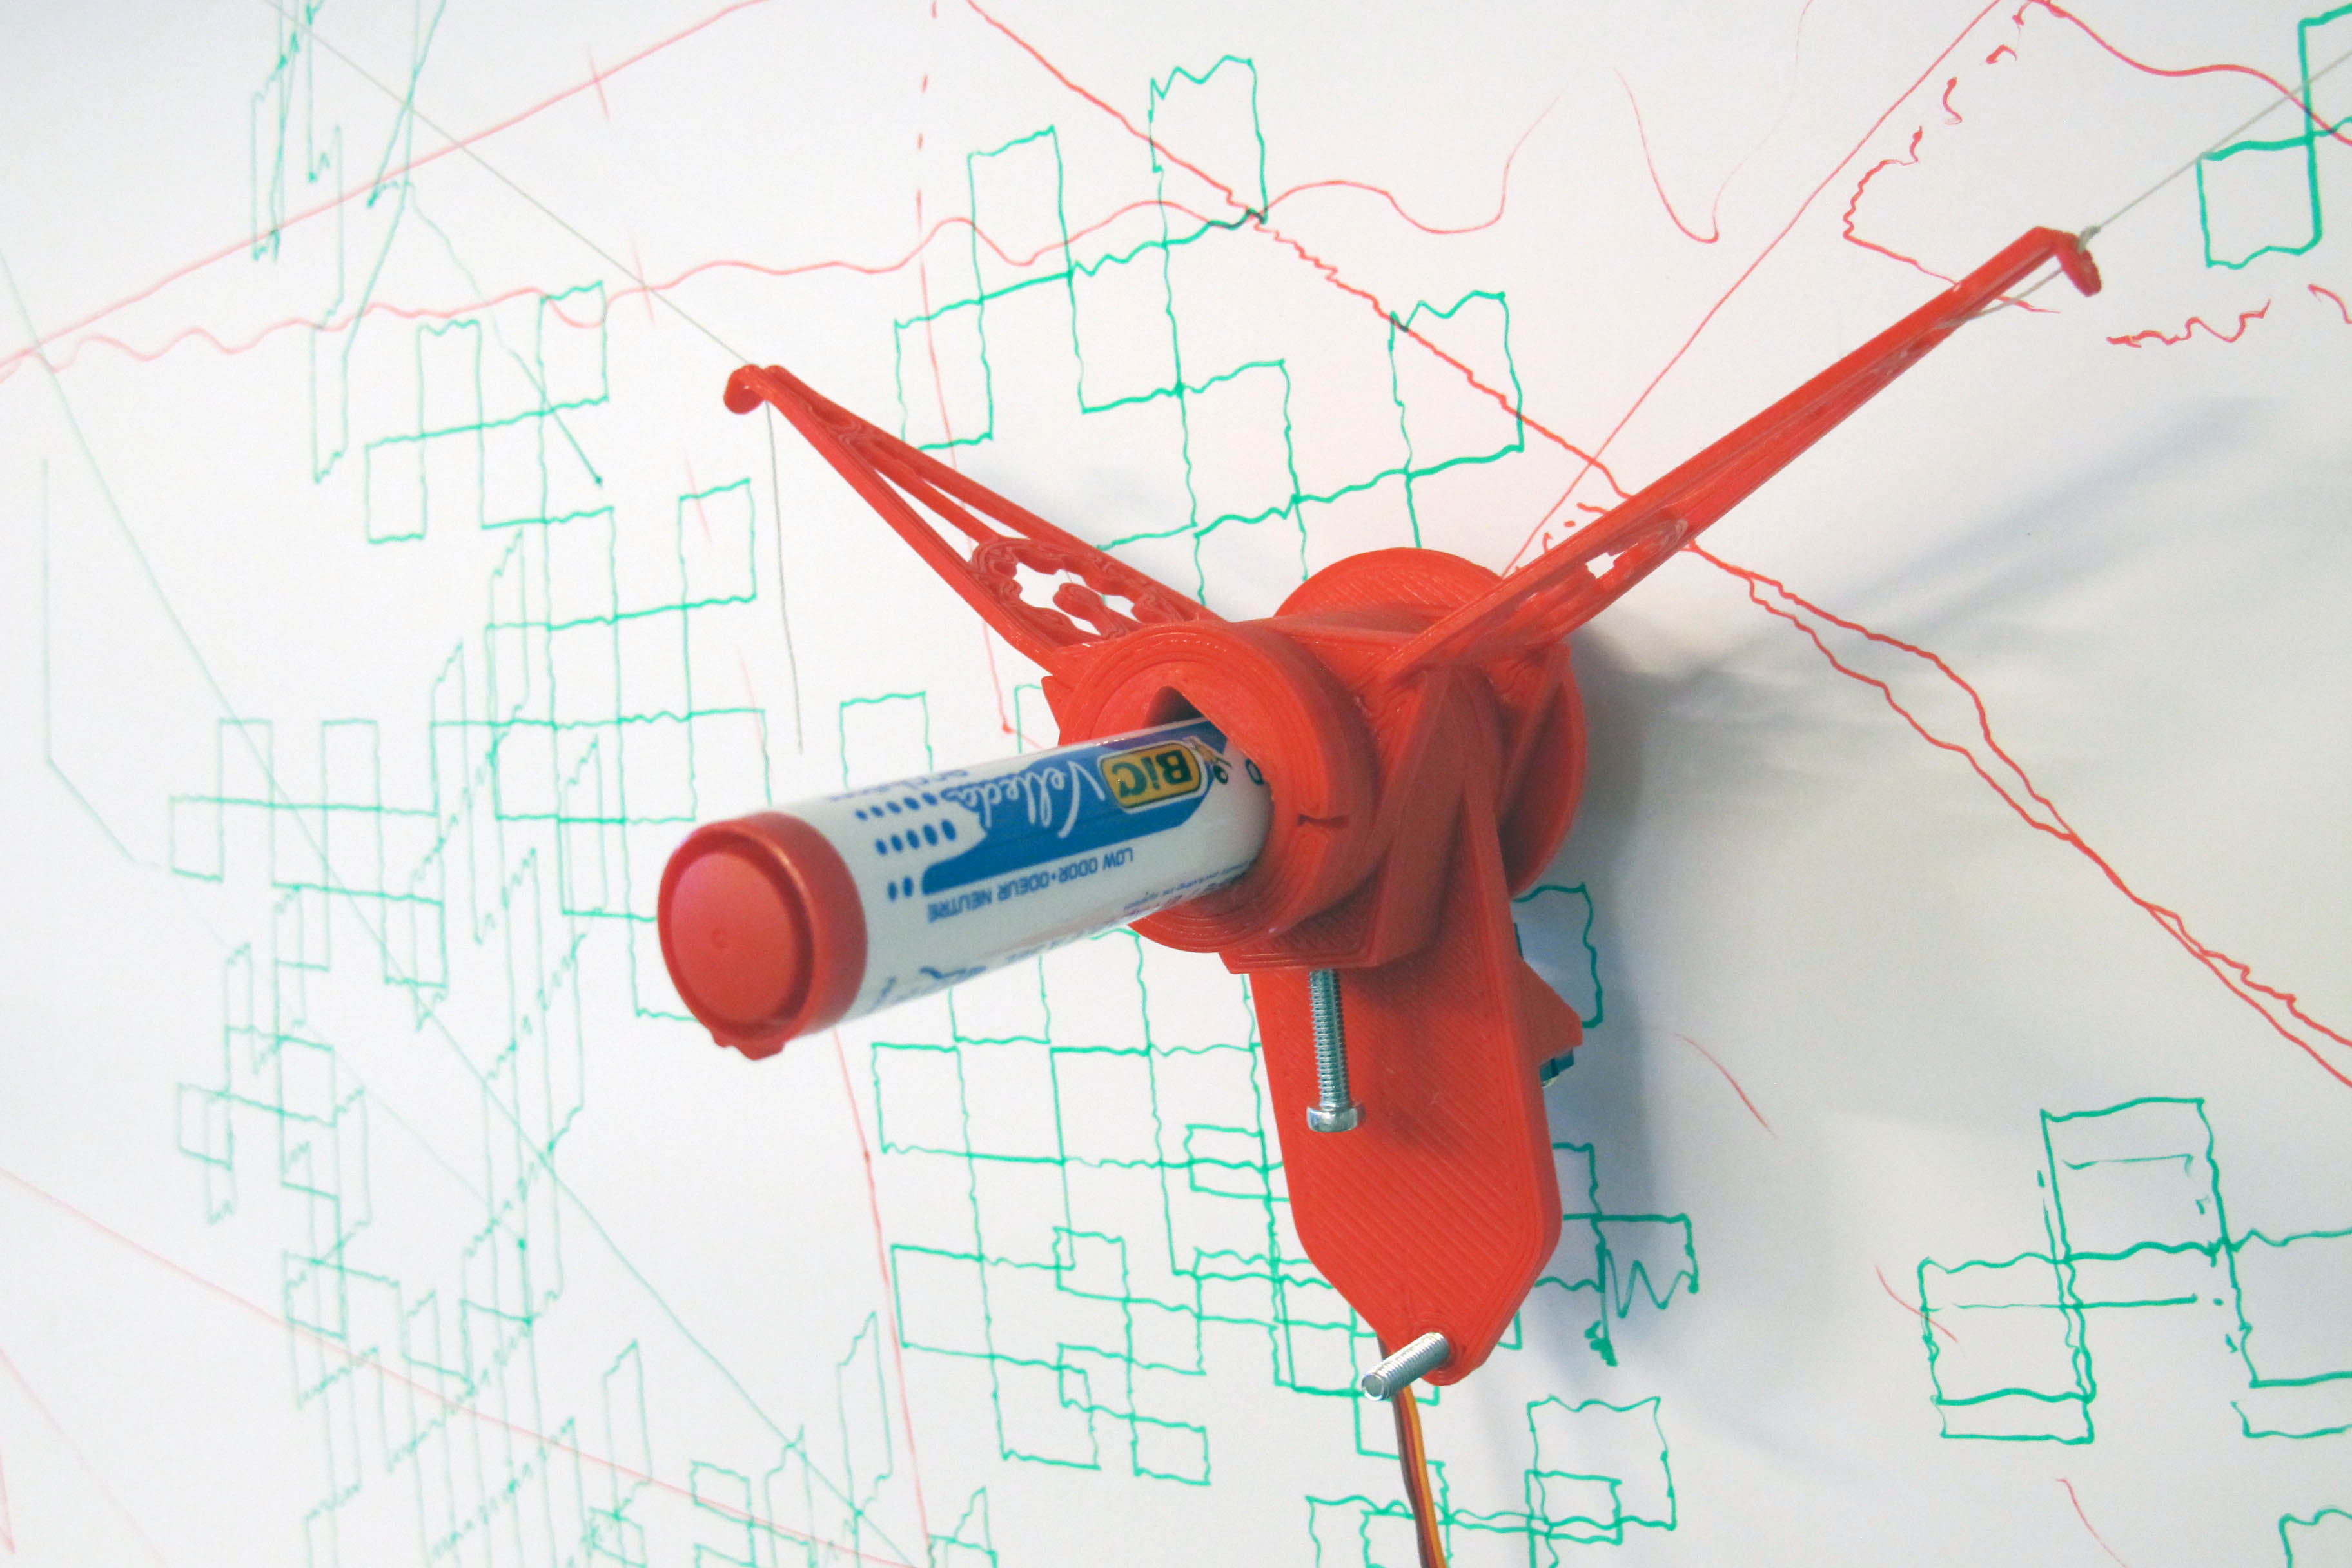
And also a nice pen-holder that Nawel made: